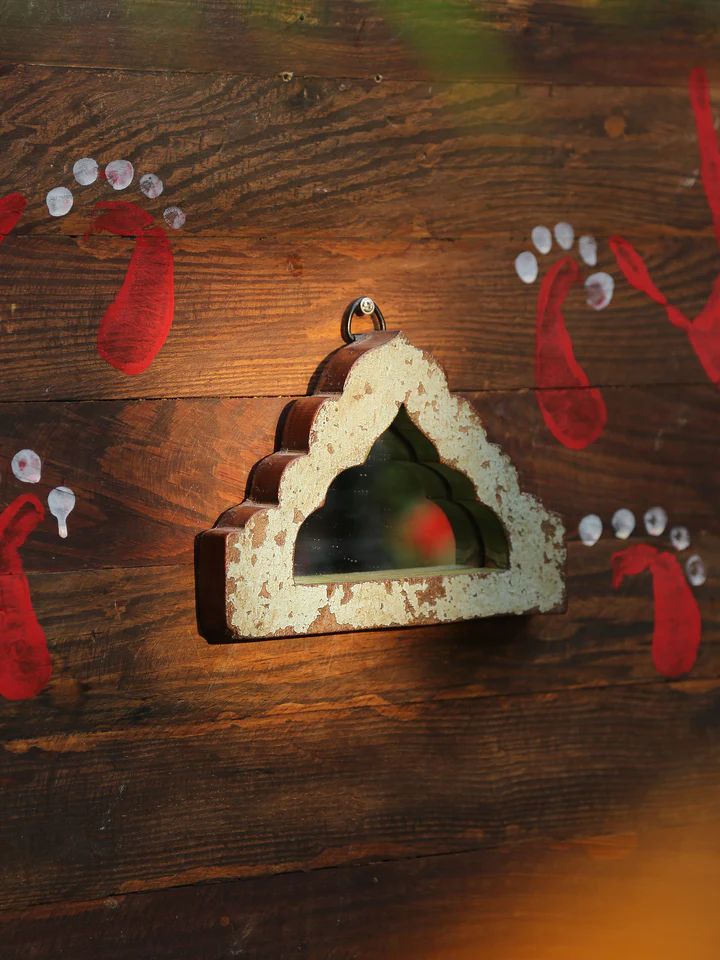
If you have a penchant for all things vintage and a passion for home decor, you’re probably no stranger to the charm of vintage wooden frames for wall art. These timeless pieces can infuse character and nostalgia into any room, but finding them in pristine condition can be a challenge. Fear not! In this guide, we’ll walk you through the art of restoring and refurbishing vintage wooden frames to bring them back to life.
The Treasure Hunt: Finding Vintage Wooden Frames
Before you embark on your restoration journey, you need to find the perfect vintage wooden frame. Estate sales, thrift stores, and antique shops are fantastic places to start your search. Look for frames with unique designs and intricate details, as these can be the hidden gems waiting to be rediscovered.
Assessing the Condition
Once you’ve found your vintage frame, it’s time to assess its condition. Pay close attention to any signs of damage, such as cracks, chips, or missing pieces. Scrutinize the finish, as it may require stripping or refinishing. Document these issues to create a restoration plan.
Gathering Your Tools and Materials
Restoring vintage wooden frames requires a few essential tools and materials, including sandpaper, wood glue, clamps, wood filler, paint or stain, brushes, and a cloth for wiping. Make sure you have everything you need before you start the restoration process.
Cleaning and Stripping
Begin by gently cleaning the frame with a damp cloth to remove dust and grime. If the frame has an old, peeling finish, consider using a paint stripper to remove it. Be sure to follow safety precautions when using chemicals, such as wearing gloves and working in a well-ventilated area.
Repairing Damaged Areas
Address any cracks, chips, or missing pieces with wood filler. Once it’s dry, carefully sand the frame to create a smooth and even surface. For loose joints or separated corners, use wood glue and clamps to secure them back in place. Patience is key during this step; ensure the repairs are sturdy and fully dry before proceeding.
Sanding and Smoothing
Sand the entire frame to create a clean canvas for your finishing touches. Start with coarse-grit sandpaper to remove imperfections, then progress to finer grits for a smoother finish. Pay extra attention to ornate details, as delicate features may require hand-sanding.
Choosing the Finish
Decide whether you want to paint, stain, or keep the natural wood finish. Each option offers a unique aesthetic, so choose the one that suits your decor vision. Remember that restoring a vintage frame allows you to personalize it to your taste while preserving its historical charm.
Applying the Finish
If you opt for paint or stain, apply it evenly using a brush or a cloth, following the manufacturer’s instructions. Be mindful of the drying time and apply multiple coats if needed. For those who prefer a natural finish, consider using a clear sealant to protect and enhance the wood’s beauty.
Adding Wall Art
With your vintage frame restored and refurbished, it’s time to fill it with your favorite artwork or photographs. Choose pieces that complement the frame’s style and size. The contrast between the vintage frame and modern artwork can create a captivating visual dynamic.
Placement and Enjoyment
Now that your Carved wooden frames for a wall is ready, find the perfect spot to hang it in your home. Whether it’s a family portrait, a vintage print, or a cherished painting, your refurbished frame will undoubtedly become a focal point in any room.
In conclusion, restoring and refurbishing vintage wooden frames for wall use is a rewarding endeavor that allows you to blend the old with the new. With some patience, creativity, and the right tools, you can revive these timeless pieces and infuse your home with a touch of history and nostalgia. So, roll up your sleeves and embark on your journey to revive the past and adorn your walls with vintage charm.


